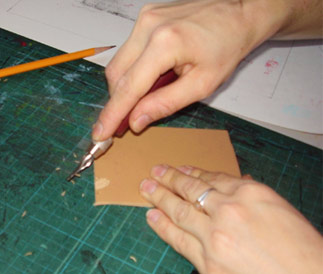
Step 1: After designing the image on paper, and then reversing by rendering the areas to be carved with white pencil on black paper, the carving begins. The relief printing block is made of wood or linoleum (yes, the same stuff that was on grandma’s kitchen floor). The process is the reverse of drawing because instead of carving the image into the lino, you are actually carving away everything that is not to be printed, leaving only the image raised.
Step 2: The ink bed is then prepared by rolling out ink onto a glass slab with a brayer. Once there is a good amount of ink on the brayer, it is then rolled onto the carved lino-block. The areas to be printed get coated with ink, while the recessed areas remain clean.

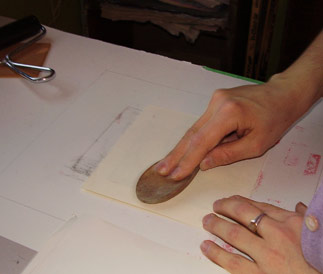
Step 3: The ink-coated lino-block is placed in the prepared printing area (where placement is important for alignment of the next colour), and the paper is placed on top for printing. Pressure is applied with a tool called a baren or, as seen here, with the back of a wooden spoon.
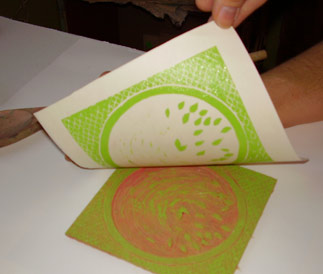
Step 4: Once pressure has been evenly applied to all areas of the block, and the ink has been transferred to the paper, the paper is then carefully removed and set aside to dry. This process is repeated as many times as needed. A letterpress can also be employed to transfer the inked image to paper.